Village Home Stores delivered a lot of KitchenAid products to Quad Cities area homes this past year, and many of the ovens come with a feature some may not even know about (or know how to use): a temperature probe. At Village we want you to be comfortable AND confident in your kitchen so let’s learn together how to use the KitchenAid temperature probe feature shall we? For help, we called in an expert to help “test drive” the appliances. We gave Chef Keys the keys to this remodeled Milan, Illinois kitchen to show the homeowners how it is done. We tagged along to help show you as well.
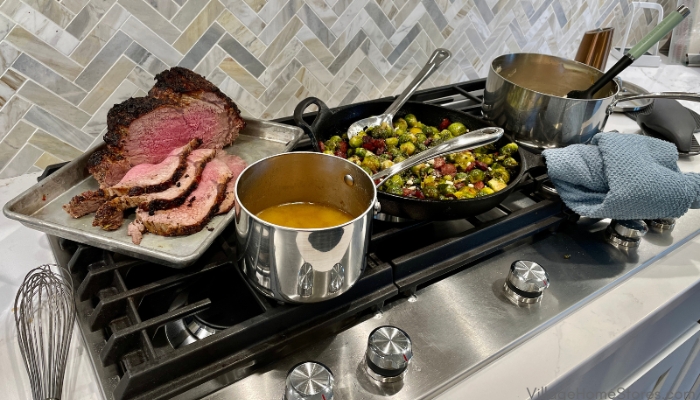
There were so many amazing dishes prepared (including a galette that Chef Keys shares the recipe for later in this post). But first, we are going to skip ahead to the main course where she used the temperature probe. If you have a KitchenAid wall oven, a freestanding convection oven, or one of the larger commercial style ranges we offer then you may have this feature and the probe attachment somewhere in your kitchen. The probe itself would have been packed with your instruction manual.
How to Use the KitchenAid Temperature Probe in Your Oven
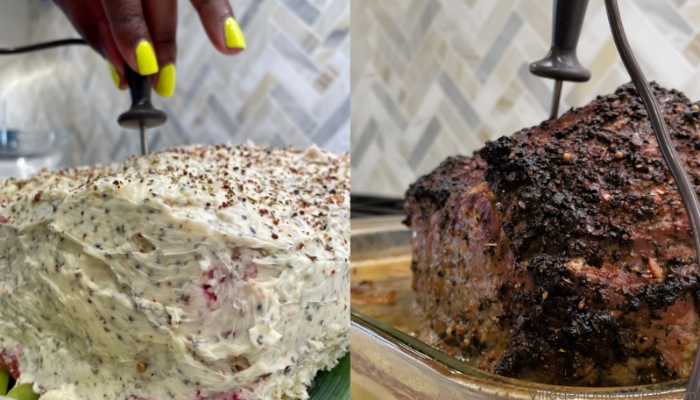
How do you use the temperature probe? It is easy we promise. Using the temperature probe just involves one extra step when you set the oven details for your item. Place the probe in the center and/or the thickest section of your item. Place your dish on the rack and plug in your probe. Close the oven door and follow the prompts on your display to enter the desired internal temperature for your item. Next select BAKE, CONVECT BAKE, or CONVECT ROAST on your wall oven control panel. Enter in the desired oven temperature and hit START.
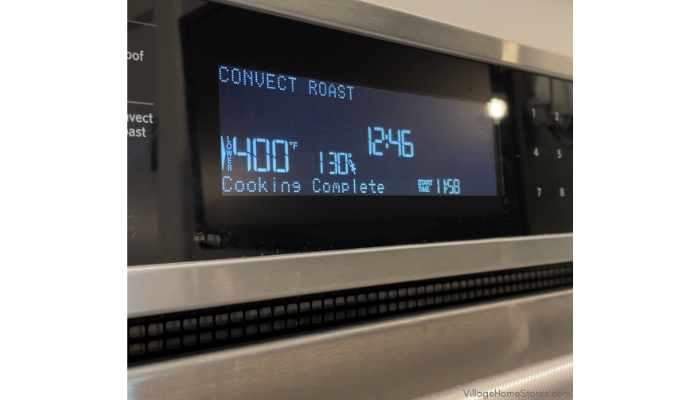
The status of the probe temperature will now display alongside your other details as the oven is operating. Once your probe measures at the desired internal temperature you have entered, the oven will shut off and the display will read “Cooking Complete”. Et voila! You did it. Don’t forget to unplug the probe before unloading and walking off with your finished dish.
Where do I Plug in My Temperature Probe?
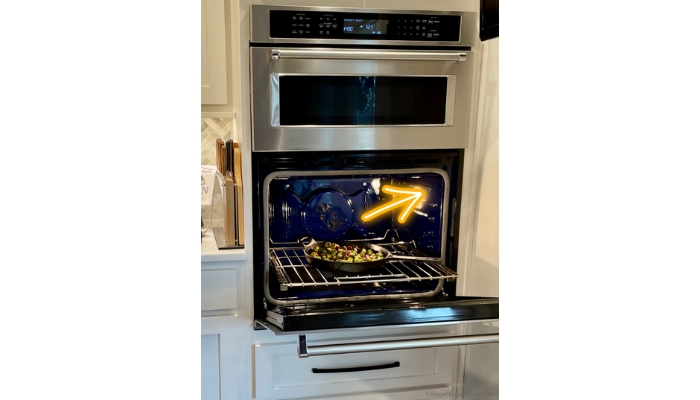
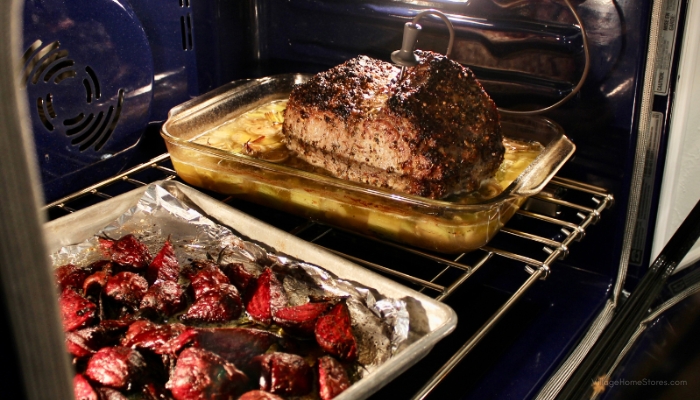
“Ok but where the heck do you plug the temperature probe in?” Great question! You will need to refer to your oven’s manual to be sure. Before you turn anything on, open your oven and have a look around. KitchenAid appliances are very intuitive in design. So, your hookup connections should be on one of the side walls and near the front. It won’t be near the floor of the oven because you will be using one of the racks for whatever the probe will be placed in. In the case of this popular combination wall oven and microwave unit, the probe plugs in to the top, front, right wall of the oven cavity (see the arrow in the image above).
Watch Chef Keys “Break in” These New KitchenAid Appliances
We asked Chef Keys to make this couple lunch and test drive this temperature probe feature… she showed up with four courses to make! Want a seat at the table to watch her at work? Press play below to see it all roast out in one delicious video.
Amazing right?! Everything was so delicious and seeing a private chef bouncing around a Village Home Stores kitchen was so much fun. She fell in love with every storage cabinet she opened, and she loved the cooking station with 36” wide gas cooktop.
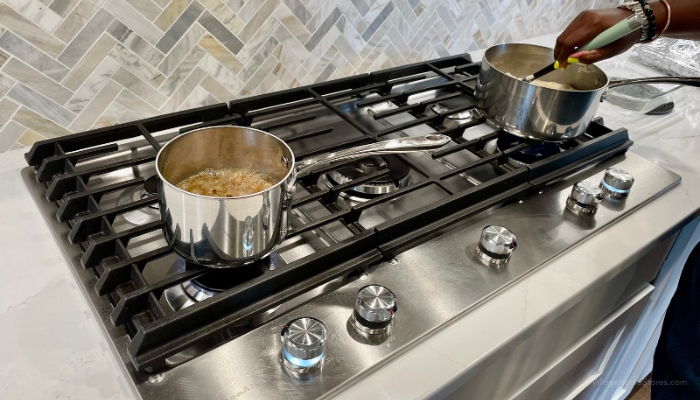
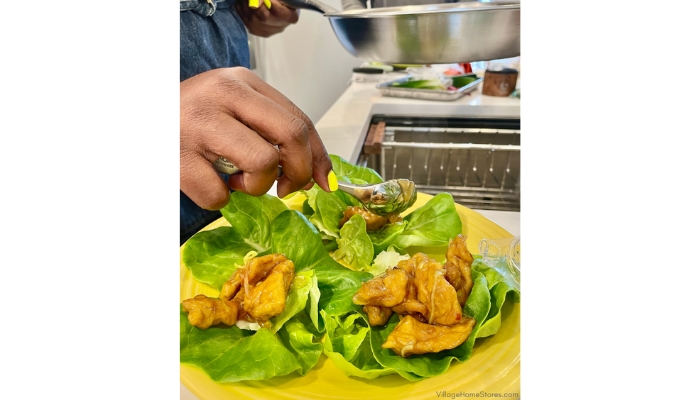
The first course was a plate of Tofu Mango Coconut Thai Lettuce Wraps. She grabbed a pan and got to work at the cooktop. An extra-wide cooking workstation like this including full width grates is ideal for a meal prep involving many menu items and lots of active pots and pans. This cooktop comes with five burners and a removable griddle. The front right Dual Ring Burner boasts 20K BTUs and is among the most powerful in the industry. It was so amazing to see an expert sliding the location of pans and adjusting the burner temperatures as she worked and multi-tasked.
Next on the menu: roasted beets! This dreamy wall oven does include three racks, but for this lunch session with Chef Keys we removed all but the one main lower oven rack that includes a SatinGlide rollout extension with a handle opening on the front of the rack. This makes for easy loading and unloading when you have heavy items loaded in the oven. In this case, she was able to slide over the protein plugged into the oven and add her pan of prepared beets.
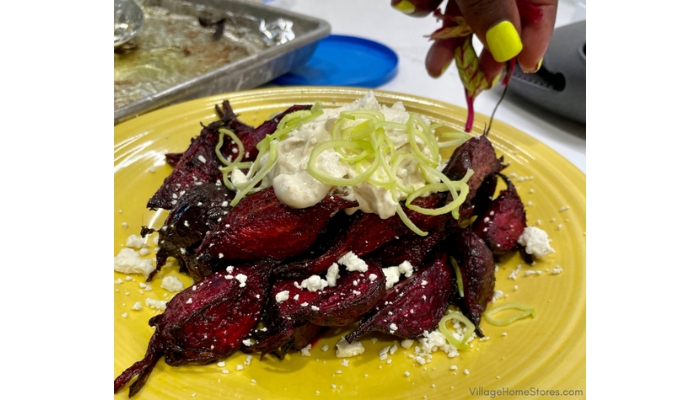
These Mediterranean Roasted Beets with Ras Al Hanout Whipped Crème Fraiche and Feta were my personal favorite of the day (yes, I did steal a bite of everything because that is the perk of being a content creator folks). They were beautiful in color and taste garnished with the greens from the beets. What is Ras Al Hanout? It is a mix of spices used in Morocco, Algeria, and Tunisia. It translates in Arabic to “head of the shop” giving it the “top shelf” appeal of blending all the very best spices a seller may have to offer at a spice market.
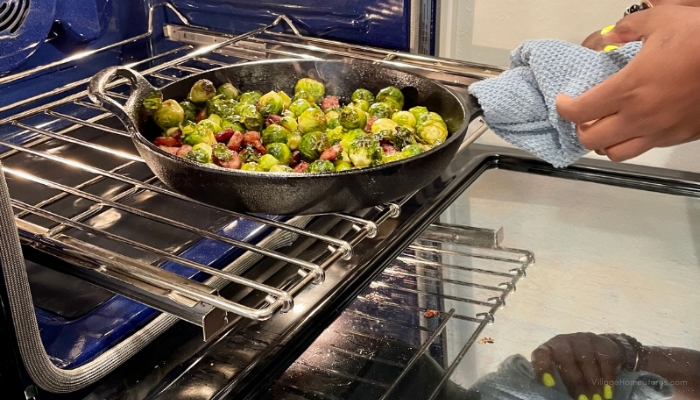
Plated up with the perfectly prepared Boneless Prime Rib Roast, Chef Keys also made Garlicky Mashed Potatoes and a Conecuh Sausage and Strawberry Balsamic Brussel Sprout dish. Conecuh Sausage is a pork sausage made down south and it really added a great kick to this brussel sprouts dish. But of course, that wasn’t everything… there is ALWAYS room for dessert!
Make Chef Keys’ Persimmon and Plum Galette
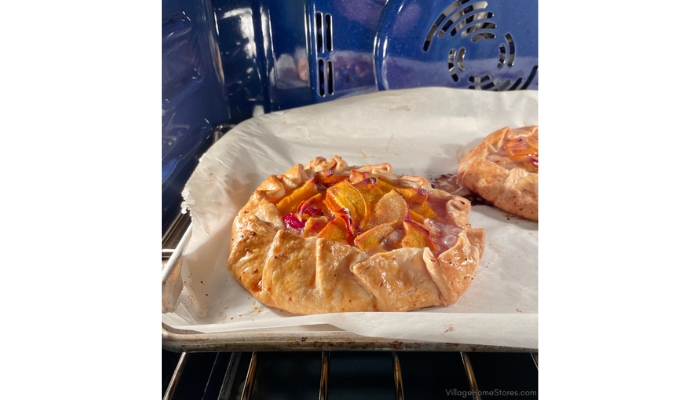
This dessert was a fantastic way to wrap up a dream lunch together. And Chef Keys wants you to make your own! She even gives the green light to use a store-bought pie crust, so this truly is a fail-proof recipe. You will need a pastry brush and parchment paper plus the following ingredients:
- 2 Pie crusts or 1 pack of store brought dough (2 rolls)
- ½ cup of granulated sugar
- 2 Cups sliced Persimmons
- 1 cup sliced plums
- ¾ cup of sugar
- 2 teaspoons of vanilla paste
- ¼ cup whiskey
- 3 tablespoon cornstarch
- Pinch of kosher salt
- 1 stick of unsalted butter (cold)
- ¼ cup melted unsalted butter
- Honey drizzle (to taste, for garnish)
- 1 egg yolk
- ¼ cup cold water
DIRECTIONS: Preheat the oven per the instructions on your pie crust package. Slice the persimmons and plums about ½ inch thick. In a large bowl, coat the fruit with sugar, salt, vanilla paste, whiskey, and cornstarch. Lay the parchment paper on the baking sheet and lay the pie crusts flat. In the center of each one fill with fruit leaving 2 inches exposed from the edges. Cut the stick of butter in half, then cut each half into 1 tablespoon slices. Place 2 tablespoons of butter in between the fruit in each pie. Reserving two tablespoons. Fold the edges of the pie crusts upward and then pleat the dough to create an open center. This allows the bottom of the dough to be done and steam to escape. Place one slice of your reserved butter on top of each vented area. Mix the egg yolk and water and brush the outside of the pie crust. Once galettes are filled, place the baking sheet on the middle rack of the oven. Cook thoroughly until the fruit filling is bubbly and the crust is a golden brown. Drizzle with honey to taste. Serve warm with vanilla bean ice cream.
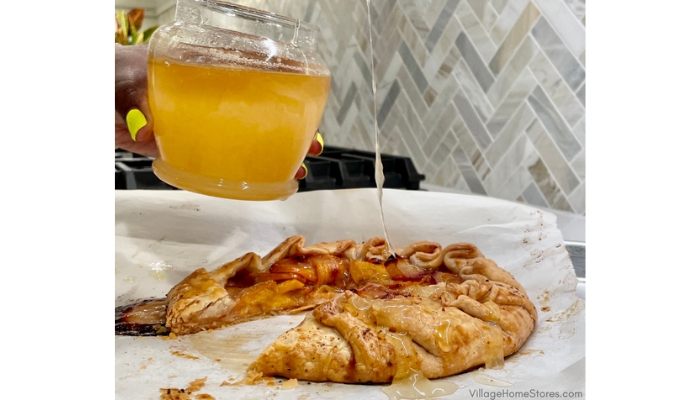
Want some visual encouragement to take on this recipe? Watch this short Instagram video of Chef Keys assembling and baking her galettes. We had ours with a drizzle of local honey and a scoop of Whitey’s vanilla ice cream to make it a la mode. Love this kitchen? Learn more about it here in a segment from our TV show. Another round of applause and thank you to our incredible new partner in the kitchen Chef Keys of Cook and Cuffs. Find out more about Chef Keys here on her website. If you are interested in a KitchenAid package of appliances curated just for your own needs, contact the appliance experts at Village Home Stores. Shop in store at 105 S State Geneseo, IL 61254 or online with us at villagehomestores.com
